
BEST GENERAL
Gilded Dreams · 4pc
Provides Elemental Mastery after triggering a reaction. Use it when the pieces have better CRIT and EM substats than your mixed set.
Last verified: November 1, 2026

Version 7.2 · Releases November 4
 Electro · Catalyst
A flexible Electro catalyst user who can create Gradient Beacons for on-field damage or team support.
Provides Elemental Mastery after triggering a reaction. Use it when the pieces have better CRIT and EM substats than your mixed set.

Boosts Stellar-Conduct reaction damage and grants CRIT Rate against affected enemies. A strong full-set option despite its less useful two-piece ATK bonus.

Combining two Elemental Mastery sets gives Mitya a reliable 160 EM. It is a flexible build for both his on-field and off-field roles and is easy to optimize with strong substats.
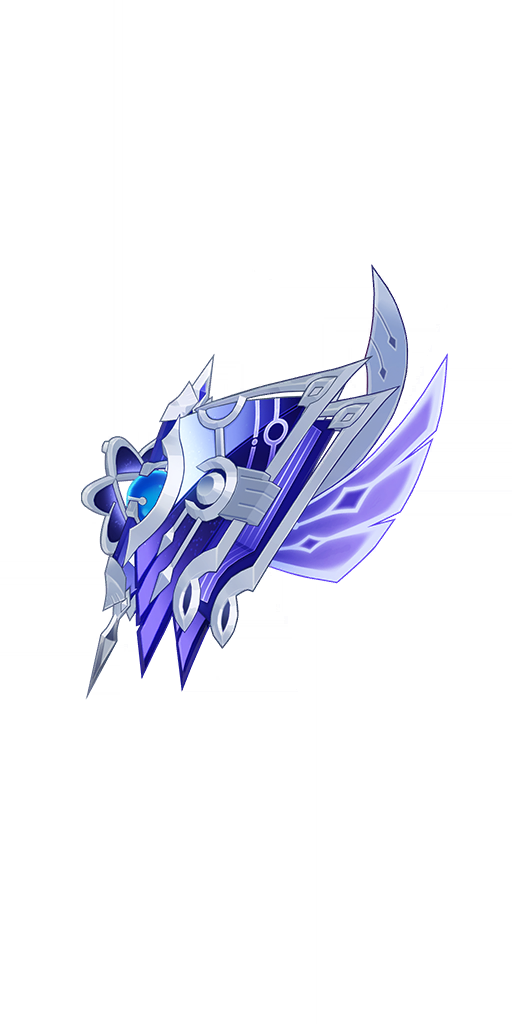
542 Base ATK · 88.2% CRIT DMG
Mitya's signature grants CRIT DMG, Elemental Mastery and additional Stellar-Conduct CRIT DMG after the team triggers reactions.

510 Base ATK · 55.1% CRIT DMG
A strong reaction weapon that gains extra value with Cryo and Electro teammates. Refinements significantly improve its EM and reaction bonus.

454 Base ATK · 221 EM
The easiest high-EM option. Its cooldown reset can also make Mitya's Skill setup more flexible.

510 Base ATK · 45.9% Energy Recharge
Useful when an on-field rotation needs more Energy to cast Burst and create three extra Gradient Beacons consistently.

510 Base ATK · 55.1% CRIT DMG
A high-variance damage option. The Elemental Mastery song is excellent, while the other buffs are less consistent for his reaction damage.
 SandsElemental Mastery
 GobletElemental Mastery
 CircletCRIT Rate / CRIT DMG
Substats: Energy Recharge until comfortable → CRIT Rate / CRIT DMG → Elemental Mastery. For an on-field C0 build, aim for roughly 500–600 EM, 60–70% CRIT Rate, 155–180% CRIT DMG and 145–165% ER. C1 greatly lowers his Energy pressure.
Odette enables Cryo, Yae adds off-field Electro damage and Valeriy protects Mitya during Gradient Detonation.







Sucrose replaces the shield slot for EM, grouping and higher team damage. Best when interruption is not a problem.


Qiqi supplies healing and Cryo while Sucrose buffs EM. Valeriy keeps Mitya from being interrupted.


Diona covers Cryo, healing and shielding while Sucrose shares EM and groups enemies.





 GREAT STOPPING POINT · C1
Adds a fifth Beacon, creates one with Skill, grants the active character 40% CRIT DMG and restores Mitya's Energy.
 BEST VALUE · C2
Shreds Cryo and Electro RES, then grants 100 team EM in Steady State or 200 EM to the active character in Overloaded State.
 C3
Elemental Skill level +3. More valuable for his off-field Detection Core damage.
 DAMAGE · C4
Adds a powerful EM-scaling Stellar-Conduct hit after the Detection Core consumes five Beacons.
 C5
Elemental Burst level +3, strengthening Analysis: Gradient Theory.
 PREMIUM · C6
Improves Beacon recycling and elevates all nearby party members' Stellar-Conduct reaction damage by 20%.

Performs Electro catalyst attacks. With an Overloaded Detection Core and at least one Gradient Beacon, his Charged Attack becomes Gradient Detonation and consumes Beacons to deal repeated AoE Stellar-Conduct damage.

Deals AoE Electro damage and creates a Detection Core. Tap for the off-field Steady State or hold for the on-field Overloaded state; Mitya can switch the Core's mode shortly after casting.
Deals AoE Electro damage and immediately creates three Gradient Beacons. On-field Mitya uses them for another Gradient Detonation sequence.
On-field: Normal Attack → Burst → Skill
Off-field support: Skill → Burst → Normal Attack

Enhances both Detection Core modes. Steady State grants nearby party members EM for each Gradient Beacon, while Overloaded helps Mitya generate Beacons after Stellar-Conduct reactions.

Extends Gradient Beacon duration and grants Mitya 5% CRIT Rate whenever he creates one, stacking up to four times for a total of 20% CRIT Rate.

Converts Superconduct into Stellar-Conduct and generates Gradient Beacons. Mitya's EM also increases the team's Base Stellar-Conduct damage, up to a 14% bonus at 500 EM.

Lets Steady State Detection Cores quickly clear nearby destructible rocks and removes the Kresnik Energy cost of creating basic heat sources in supported Snezhnaya areas.
Total materials required to fully ascend Mitya. Character EXP is shown separately.










Multiply these quantities by three to crown Normal Attack, Skill and Burst.





Select Mitya's current level and talent targets to see the remaining materials.
Character EXP is shown as Hero's Wit equivalents. Lower-rarity EXP books can cover the remaining experience.
The activities and drops needed for Mitya's ascension and talents.
Farm the matching world boss until you have 46 copies for level 90.
Required for Mitya's higher talent levels. Weekly rewards are limited.
Collect the full Chimeric Core family for both ascension and talents.
Use the in-game specialty tracker and gather 168 copies across several routes.
Farm Teachings, Guide and Philosophies of Charity on their available days.
Make sure Mitya can Burst every rotation, then invest into CRIT and Elemental Mastery.
Create the Detection Core, set up Cryo and Electro, then consume Gradient Beacons with his enhanced Charged Attack.
Tap Skill to keep the Core active while another character drives Stellar-Conduct reactions.
Mitya needs consistent reaction triggers. Add shielding or healing if his Charged Attack sequence is interrupted.
Yes. C0 already supports both on-field and off-field play. C1 improves Energy comfort, while C2 is the strongest early support upgrade.
Use EM on the Sands and Goblet, then balance CRIT through the Circlet and substats. Pure support builds can lean further into EM.
Sacrificial Fragments is the simplest accessible choice because it provides a large amount of Elemental Mastery and flexible Skill usage.
Gilded Dreams is the safest general set. Disenchantment in Deep Shadow is stronger for dedicated on-field reaction damage when its substats are competitive.
Not always, but interruption resistance makes his Charged Attack sequence much safer. Valeriy is the most natural defensive partner.
Start around 145–165% at C0 and adjust after testing. Favonius teammates and C1 can lower the requirement.