Keep Anemo reactions active to break encounter gauges and trigger the Abyssal Moon shockwave every four seconds.
CRITATLAS · GENSHIN IMPACT
SPIRAL ABYSS
7.0 GUIDE
Floor 12 enemy mechanics and team cores for the September 16–October 16 cycle. Build the first half around Swirl or Stellar Swirl and the second around Electro-Charged or Lunar-Charged.
CURRENT ABYSS BUFFS
Fast Hydro and Electro application suppresses regenerating shields and converts every damage window into reaction pressure.
The first half rewards Anemo plus a swirled aura. The second favors Hydro and Electro; Stellar and Lunar variants receive their own dedicated bonus.
Bring grouping for the scattered first waves and preserve enough elemental coverage for Abyss shields. Your strongest developed teams remain the safest choice.
FLOOR 12 BREAKDOWN
Prepare around Chamber 3: a team that solves its mechanics should also clear the first two chambers.
CHAMBER 12-1
TARGET · 7:00 REMAINING FIRST HALF
CHIMERIC BURROWBEAST
Electro application accelerates its Fury gauge. Swirl Electro while building the gauge, then spend the full rotation after it grows and becomes vulnerable.
RECOMMENDED: STELLAR SWIRL / ELECTRO SWIRL SECOND HALF
9× EXILES + RASKOLNIKOV
Group the Exiles, then have Hydro and Electro already active when Raskolnikov appears. Electro-Charged or Lunar-Charged stops his shield regeneration.
RECOMMENDED: LUNAR-CHARGED / ELECTRO-CHARGEDCHAMBER 12-2
TWO BOSS WAVES FIRST HALF
IMMORTAL CONSTRUCT
Interrupt its shield regeneration with Stellar Glimmer damage. Save the reaction window instead of attacking through repeated shields.
KEY: STELLAR REACTION UPTIME SECOND HALF
4× FISHERS + WHISPERER
Break one Fisher shield to group the opening wave, then use Lunar damage against the Whisperer of Nightmares.
KEY: AOE + LUNAR DAMAGECHAMBER 12-3
MECHANICS CHECK FIRST HALF
DOMOVOY SCULPTOR · CHURIN
Keep moving around the summoned Jack Frost statues. Ranged Swirl or Stellar teams reduce the risk of losing the active character to their burst.
BEST: STELLAR SWIRL / RANGED DAMAGE SECOND HALF
LIGHTKEEPER · SIGURD
Dodge the Electro lunges, keep Lunar damage active and unload while Sigurd is stationary in the Grave Stricken state.
BEST: LUNAR-CHARGEDRECOMMENDED TEAM CORES
Stellar-Conduct Core
Fast Cryo + Electro application for the first-half Ley Line.
 Sandrone
 Odette
 Fischl
 Diona
DionaAlternatives: Alyosha, Yae Miko, Escoffier, Charlotte or your strongest developed Cryo/Electro carry. Keep enough area damage for 12-1.
Pyro Normal Attack Core
Built to exploit the +75% Normal Attack Pyro bonus.
 Arlecchino
 Yelan
Yelan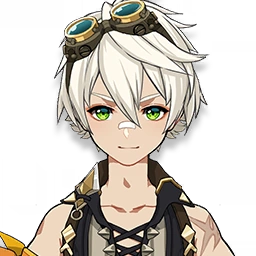 Bennett
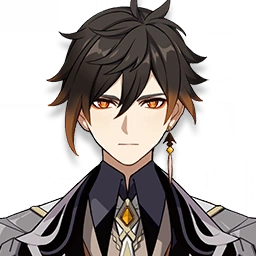 Zhongli
Alternatives: Yoimiya as the driver, Xingqiu for Hydro, Citlali for shielding and amplification, or Kazuha for grouping and resistance shred.
Superconduct Shell
A flexible framework when Sandrone is unavailable.
Fischl Ororon
 CharlotteDiona
Adjust it: replace one defensive slot with your strongest Cryo or Electro damage dealer. Keep Ororon or another bow user to stun the Aeonblight Drake.
Vaporize Normal Attacks
A practical shell with strong shield coverage.
 Yanfei
 XingqiuBennett
 Sucrose
Adjust it: Gaming or another developed Pyro carry can lead the team. Preserve at least one non-Pyro element to answer the Baptist's rotating shields.
Rotation data checked September 21, 2026. Team recommendations are CritAtlas suggestions based on the current Floor 12 mechanics.