
BEST AT C6
Tenacity of the Millelith
Best C6 support set because her coordinated hits maintain the team ATK buff.
Last verified: September 21, 2026

 Anemo · Bow
The dedicated Anemo carry support, providing Anemo DMG Bonus, enemy Anemo RES reduction and major C6 improvements.
Best C6 support set because her coordinated hits maintain the team ATK buff.

Best general team buff before C6 when no one else carries it.

Comfortable Energy and Burst damage fallback.
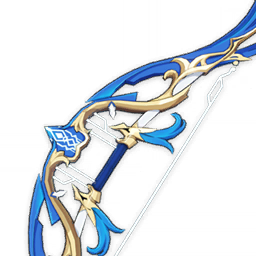
608 Base ATK · 55.1% ER
Premium team buffing option.
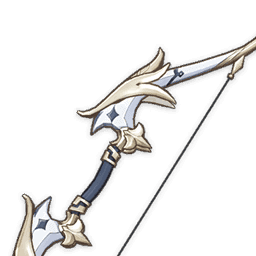
454 Base ATK · 61.3% ER
Best accessible weapon and Energy solution.
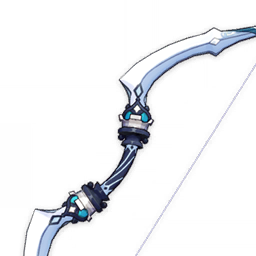
565 Base ATK · 30.6% ER
Extra Skill use and useful Energy Recharge.
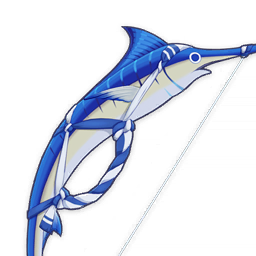
510 Base ATK · 45.9% ER
Free fishing alternative.
 SandsEnergy Recharge
 GobletAnemo DMG Bonus
 CircletCRIT Rate
Substats: Energy Recharge → CRIT Rate → CRIT DMG / ATK%
Targets: Roughly 250–300% ER before C6; around 200% can work at C6.





















 C1
C1Faruzan can fire off a maximum of 2 Hurricane Arrows using fully charged Aimed Shots while under the effect of a single Manifest Gale created by Wind Realm of Nasamjnin.
 C2
C2The duration of the Dazzling Polyhedron created by The Wind's Secret Ways is increased by 6s.
 C3
C3Increases the Level of Wind Realm of Nasamjnin by 3. Maximum upgrade level is 15.
 C4
C4The vortex created by Pressurized Collapses will restore Energy to Faruzan based on the number of opponents hit: If it hits 1 opponent, it will restore 2 Energy for Faruzan. Each …
 C5
C5Increases the Level of The Wind's Secret Ways by 3. Maximum upgrade level is 15.
 C6
C6Characters affected by The Wind's Secret Ways' Prayerful Wind's Benefit have 40% increased CRIT DMG when they deal Anemo DMG. When the active character deals DMG while affected by…

Faruzan deploys a Dazzling Polyhedron that unleashes a Whirlwind Pulse and deals AoE Anemo DMG. While the Dazzling Polyhedron persists, it will continuously move along a triangular path. Once it reaches each corner of that triang…

Faruzan deploys a polyhedron that deals AoE Anemo DMG to nearby opponents. She will also enter the Manifest Gale state. While in the Manifest Gale state, Faruzan's next fully charged shot will consume this state and will become a…

Normal Attack Performs up to 4 consecutive shots with a bow. Charged Attack Performs a more precise Aimed Shot with increased DMG. While aiming, mighty winds will accumulate on the arrowhead. A fully charged wind arrow will deal …

When Faruzan is in the Manifest Gale state created by Wind Realm of Nasamjnin, the amount of time taken to charge a shot is decreased by 60%, and she can apply The Wind's Secret Ways' Perfidious Wind's Bale to opponents…

When characters affected by The Wind's Secret Ways' Prayerful Wind's Benefit deal Anemo DMG using Normal, Charged, Plunging Attacks, Elemental Skills, or Elemental Bursts to opponents, they will gain the Hurricane Guard…

Gains 25% more rewards when dispatched on a Sumeru Expedition for 20 hours.
Combined material families for Level 90 and talent investment. Quantities aggregate the full progression path.

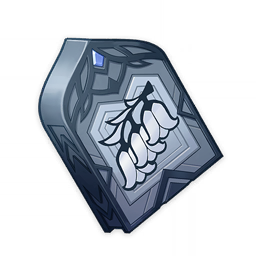
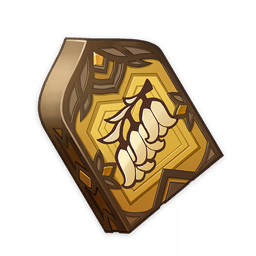

Burst uptime is more important than personal damage.
C2 extends the Burst; C6 is the defining upgrade for Anemo carry teams.
Use Favonius with enough CRIT Rate to trigger its passive reliably.
Tenacity of the Millelith is the recommended starting point for the featured anemo buffer · res shred build. The alternatives above can win when they have much better substats or cover a missing team buff.
End of the Line is the accessible recommendation shown in this guide. Always secure the required Energy Recharge before chasing extra damage.
Elemental Burst → Elemental Skill → Normal Attack is the recommended order for the featured build.
Yes. The guide is designed around the base kit. Constellations improve comfort or damage but are not required to use the listed teams.