BEST SUPPORT
Viridescent Venerer
Default set for Swirl teams and elemental RES reduction.
Last verified: September 21, 2026
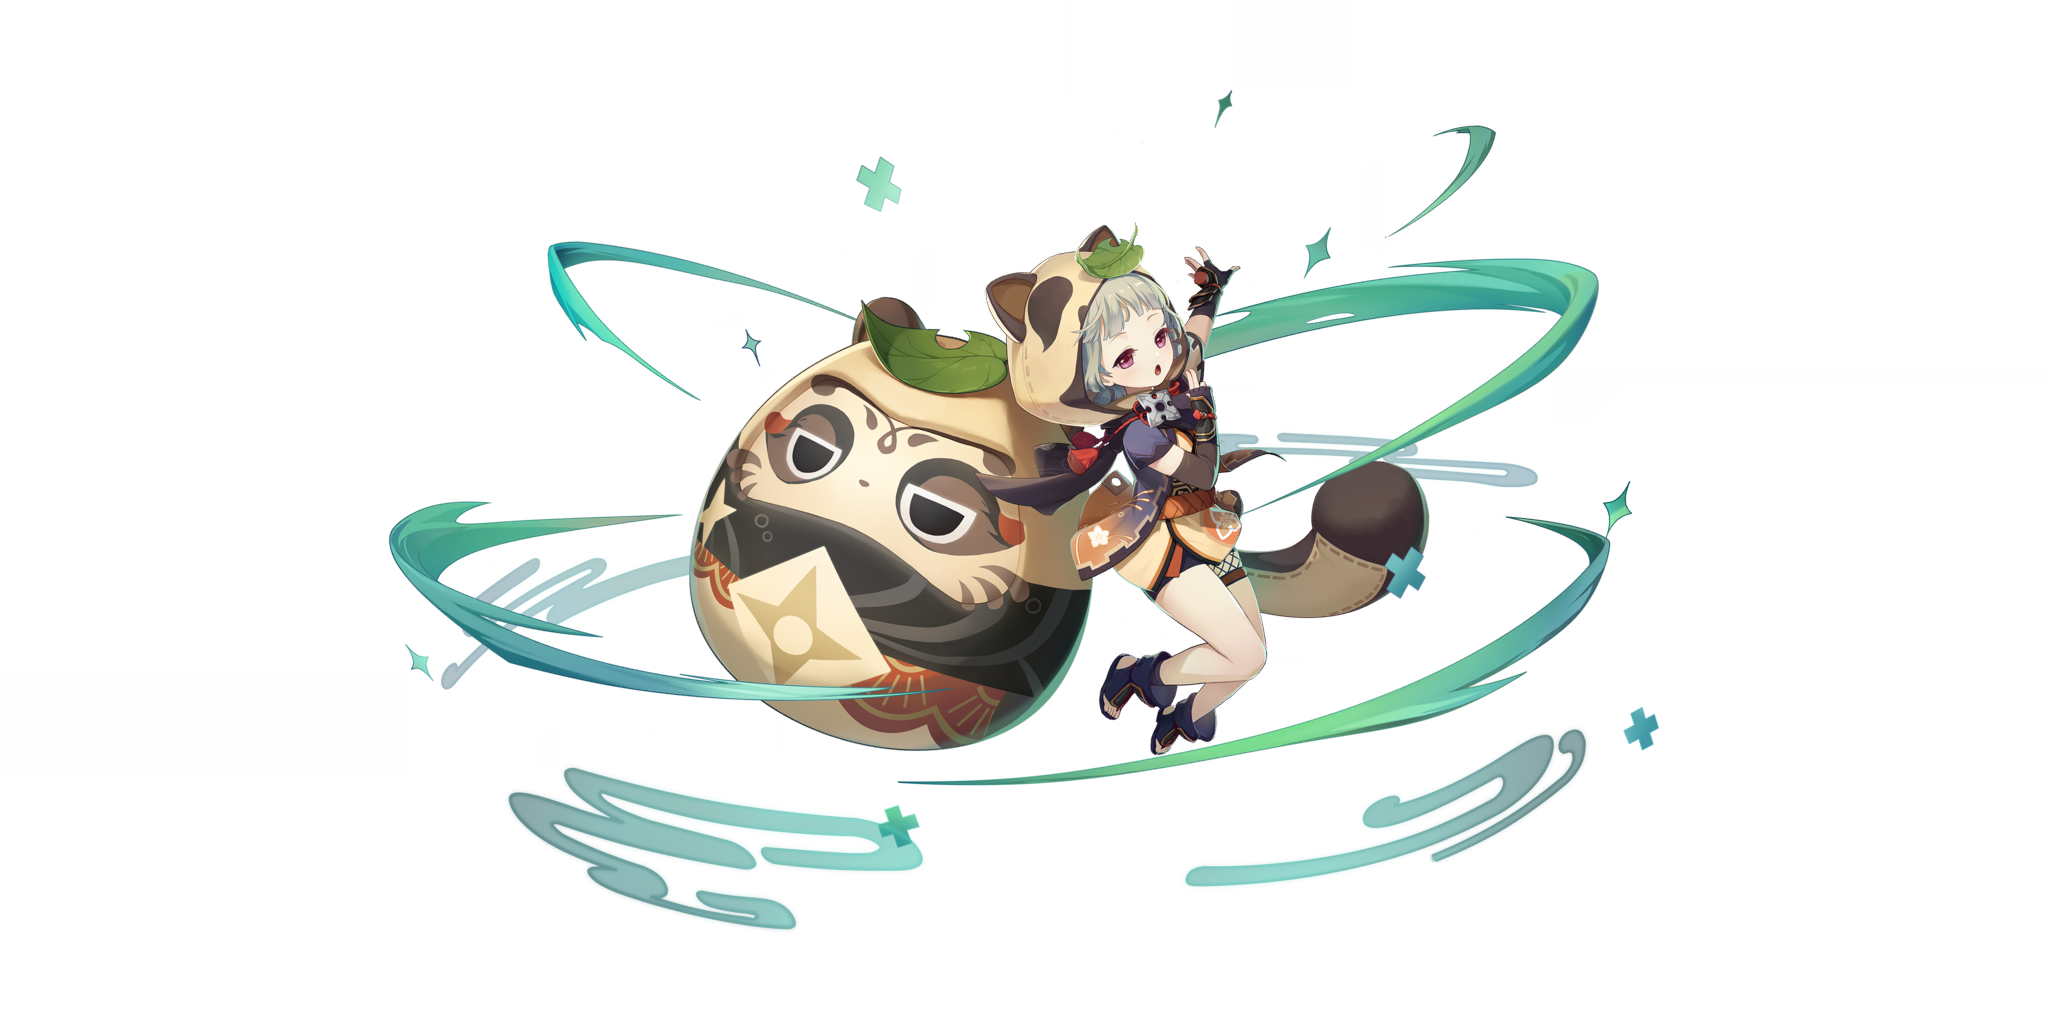
 Anemo · Claymore
A mobile Anemo healer who combines Viridescent Venerer utility, team sustain and a long rolling Skill for reaction driving.
Default set for Swirl teams and elemental RES reduction.
Healing-focused alternative with extra damage.
Team ATK option when Viridescent is already covered.
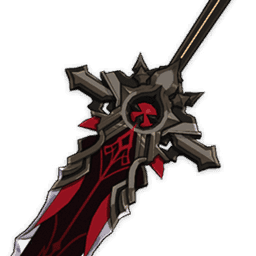
608 Base ATK · 49.6% ATK
Maximum ATK-based healing and team buff potential.
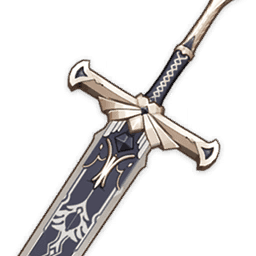
454 Base ATK · 61.3% ER
Best comfort option for Burst uptime and team particles.

565 Base ATK · 30.6% ER
Extra Skill use and Energy generation.
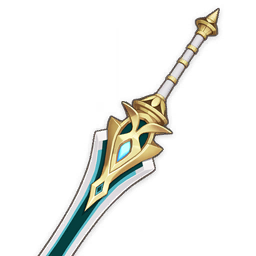
510 Base ATK · 165 EM
Strong C6 EM support option.
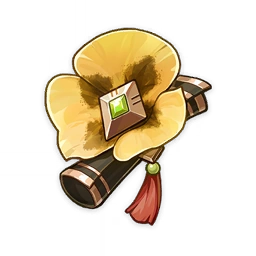
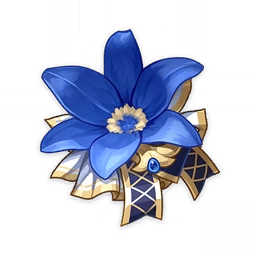
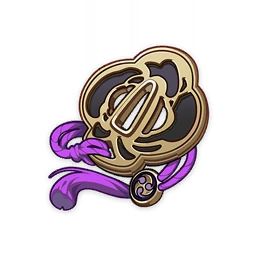
 SandsEnergy Recharge or Elemental Mastery
 GobletElemental Mastery or ATK%
 CircletHealing Bonus, EM or ATK%
Substats: Energy Recharge → Elemental Mastery / ATK% → CRIT Rate with Favonius
Targets: Reach reliable Burst uptime first; C6 greatly improves full-EM healing.












 C1
C1The Muji-Muji Daruma created by Yoohoo Art: Mujina Flurry will ignore HP limits and can simultaneously attack nearby opponents and heal characters.
 C2
C2Yoohoo Art: Fuuin Dash gains the following effects: ·DMG of Fuufuu Whirlwind Kick in Press Mode increased by 3.3%. ·Every 0.5s in the Fuufuu Windwheel state will increase the DMG …
 C3
C3Increases the Level of Yoohoo Art: Mujina Flurry by 3. Maximum upgrade level is 15.
 C4
C4Sayu recovers 1.2 Energy when she triggers a Swirl or Stellar Swirl reaction while on-field. This effect occurs once every 2s.
 C5
C5Increases the Level of Yoohoo Art: Fuuin Dash by 3. Maximum upgrade level is 15.
 C6
C6The Muji-Muji Daruma created by Sayu's Yoohoo Art: Mujina Flurry will now also benefit from her Elemental Mastery. Each point of Sayu's Elemental Mastery will produce the followin…

The other super special technique of the Yoohoo Ninja Arts! It summons a pair of helping hands for Sayu. Deals Anemo DMG to nearby opponents and heals all nearby party members. The amount of HP restored is based on Sayu's ATK. Th…

The special technique of the Yoohoo Ninja Arts! Sayu curls up into a rolling Fuufuu Windwheel and smashes into opponents at high speed, dealing Anemo DMG. When the duration ends, she unleashes a Fuufuu Whirlwind Kick, dealing AoE…

Normal Attack Performs up to 4 consecutive strikes. Charged Attack Drains Stamina over time to perform continuous spinning attacks against all nearby opponents. At the end of the sequence, performs a more powerful slash. Plunging…

When Sayu triggers a Swirl or Stellar Swirl reaction while active, she heals all your characters and nearby allies for 300 HP. She will also heal an additional 1.2 HP for every point of Elemental Mastery she has. This e…

The Muji-Muji Daruma created by Yoohoo Art: Mujina Flurry gains the following effects: ·When healing a character, it will also heal characters near that healed character for 20% the amount of HP. ·Increases the AoE of i…

When Sayu is in the party, your characters will not startle Crystalflies and certain other animals when getting near them. Check the "Other" sub-category of the "Living Beings / Wildlife" section in the Archive for crea…
Combined material families for Level 90 and talent investment. Quantities aggregate the full progression path.


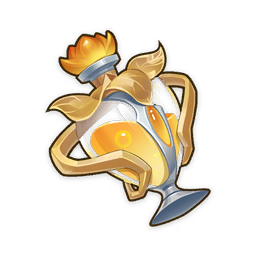

C1 lets the Daruma heal and attack at the same time without an HP restriction.
Use Viridescent Venerer to shred the main damage element.
Full EM becomes much more attractive at C6.
Viridescent Venerer is the recommended starting point for the featured team healer · swirl driver build. The alternatives above can win when they have much better substats or cover a missing team buff.
Makhaira Aquamarine is the accessible recommendation shown in this guide. Always secure the required Energy Recharge before chasing extra damage.
Elemental Burst → Elemental Skill → Normal Attack is the recommended order for the featured build.
Yes. The guide is designed around the base kit. Constellations improve comfort or damage but are not required to use the listed teams.